Create a Custom Action from Scratch
Use Create from scratch when you need to call your own API and no template matches. You’ll configure the HTTP request, the parameters the agent extracts from the conversation, and any authentication.
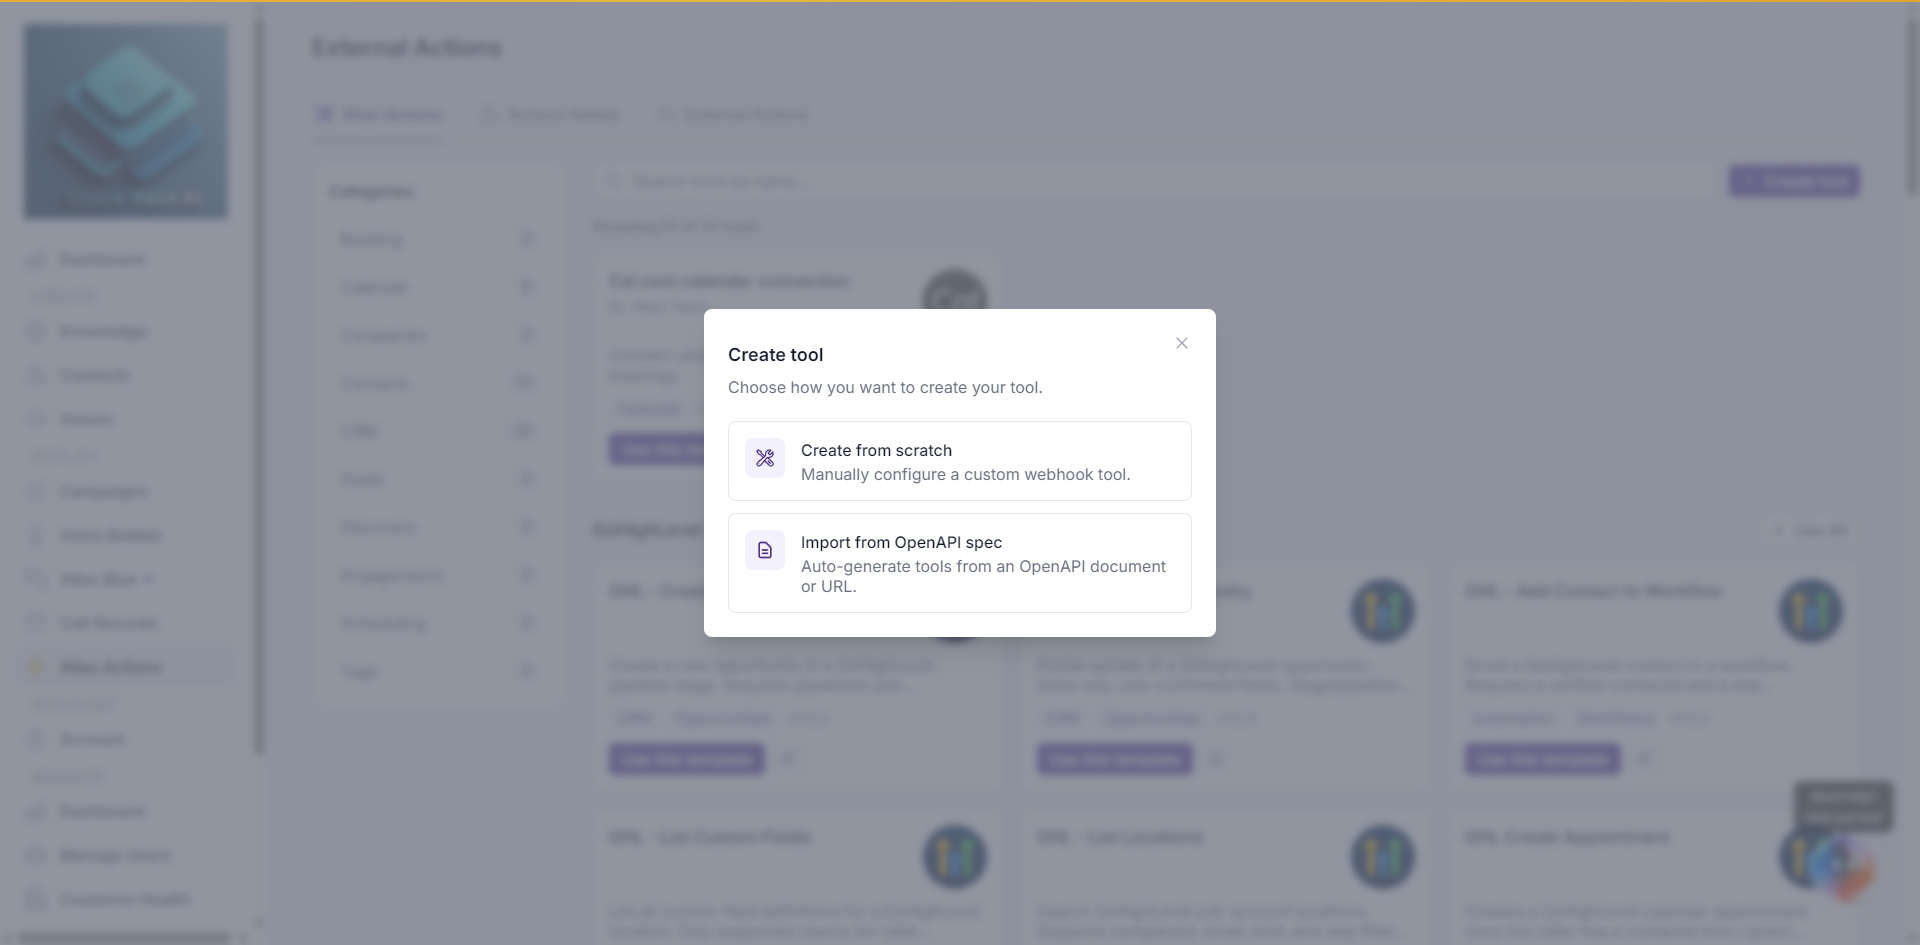
Open the form
- Go to Global Actions in the dashboard.
- Click Create tool (top right of the Atlas Actions tab).
- Choose Create from scratch.
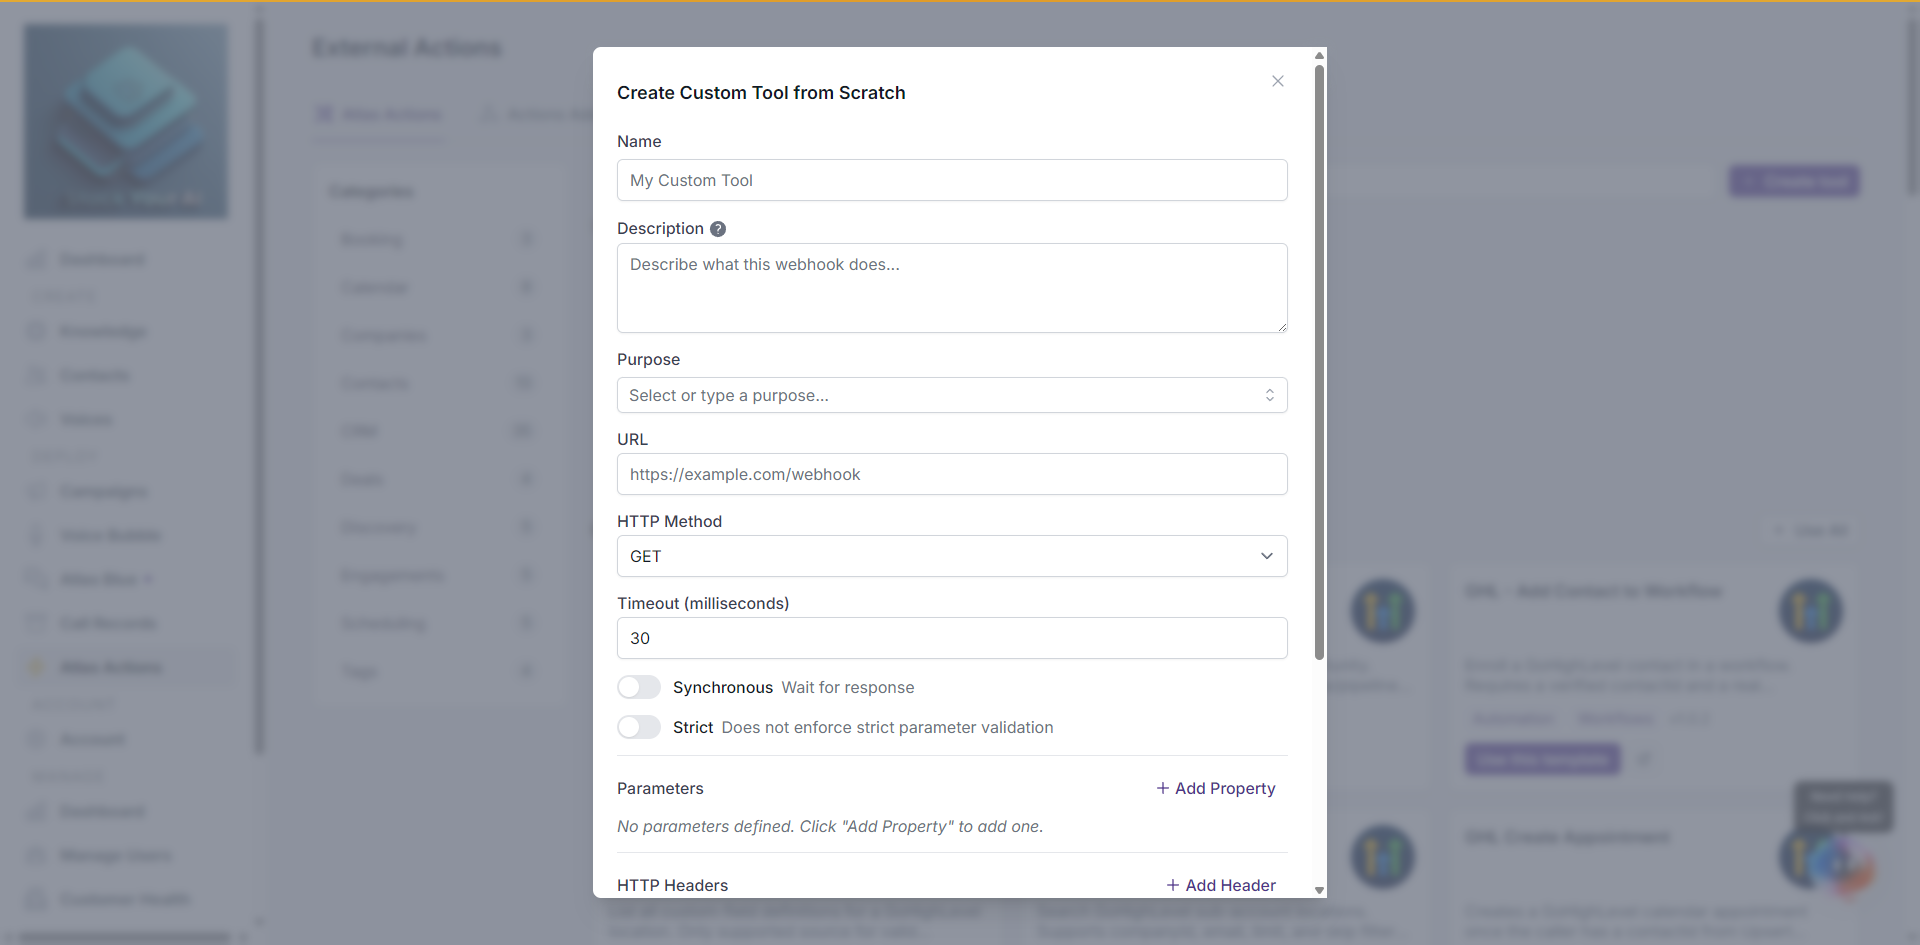
Required fields
- Name — Letters, numbers, and spaces only. Shown to the agent as the action name.
- URL — Full HTTPS endpoint. Must be a valid URL.
- Description — Tells the agent when to use this action. Write it as an instruction, e.g. “Use this to look up the status of an order when the customer provides an order number.”
HTTP settings
- Method —
GET,POST,PUT,PATCH, orDELETE. Defaults toPOST. - Timeout — Seconds to wait for your response. Default
30. Max wait before the agent moves on. - Synchronous Mode — On by default. The agent pauses until your endpoint responds. Turn off for fire-and-forget actions.
- Strict Mode — When on, the agent will not fire the action until every required parameter is filled.
Parameters
Parameters are the slots the agent fills from the conversation and sends in the request body under parameters.
To add a parameter:
- Click Add parameter.
- Enter a Name (used as the JSON key).
- Pick a Type:
string— text valuesnumber— numeric valuesboolean— true/falseobject— a group of nested fieldsarray— a list of values or objects
- Write a Description — this is what the agent reads to decide what to put here. Be specific.
- Toggle Required if the agent must collect it before firing.
Nested parameters
For object parameters (or array of objects), click the expand arrow on the parameter row and use the + button to add child properties. Nesting works to any depth.
Example — a customer object with name and email children:
The webhook payload will arrive as:
Headers
Add any custom HTTP headers your endpoint needs (API keys, content type, custom signatures, etc.).
- Key — Header name. No spaces.
- Value — Header value. Sent verbatim on every request.
Duplicate keys are rejected.
Messages
By default the agent goes silent while your webhook runs. Add messages to have it speak to the caller at each stage of the call — when the request starts, finishes, runs long, or fails.
To add a message:
- In the Messages section (below HTTP Headers), click Add Message.
- Pick a Type:
- Request start — spoken when the agent begins the call.
- Request complete — spoken when the call finishes successfully.
- Response delayed — spoken when the response is taking longer than expected.
- Request failed — spoken when the call fails.
- Enter the Content — the agent reads this aloud via text-to-speech. You can also paste an audio file URL (e.g. an
.mp3) to play a pre-recorded clip instead. - Fill the type-specific field:
- Response delayed — set the delay (in milliseconds) to wait before speaking, e.g.
5000. - Request failed — toggle end call after spoken to hang up once the message finishes.
- Response delayed — set the delay (in milliseconds) to wait before speaking, e.g.
Each type can be configured at most once. Once a type is used it drops out of the dropdown, and Add Message disables after all four are set. Configured messages show as cards with a type badge (plus a ms badge for delayed and an Ends call badge for failed) and edit/delete actions.
Content accepts either spoken text or an audio file URL — the voice platform decides based on whether the value is a URL. Messages with empty content are dropped.
Authentication
Three options:
- None — No auth header is added (you can still pass a static key via Headers).
- Pick an existing OAuth method — Reuse a saved Client Credentials connection.
- Add new OAuth method — Create and test a new Client Credentials connection inline.
See OAuth Credentials for the full auth setup.
Save
Click Create Custom Tool. The action appears on the Actions Added tab. From there you can attach it to one or more campaigns — see Manage Actions.
Validation rules
- Name: letters, numbers, spaces only.
- URL: must be a valid absolute URL.
- Description: required.
- Parameter names: required if you add a parameter.
- Header keys: no spaces, no duplicates.