Manage Actions
The Actions Added tab under Global Actions lists every action you’ve created — from templates, from scratch, or via OpenAPI import. From here you edit, delete, or attach actions to your campaigns.
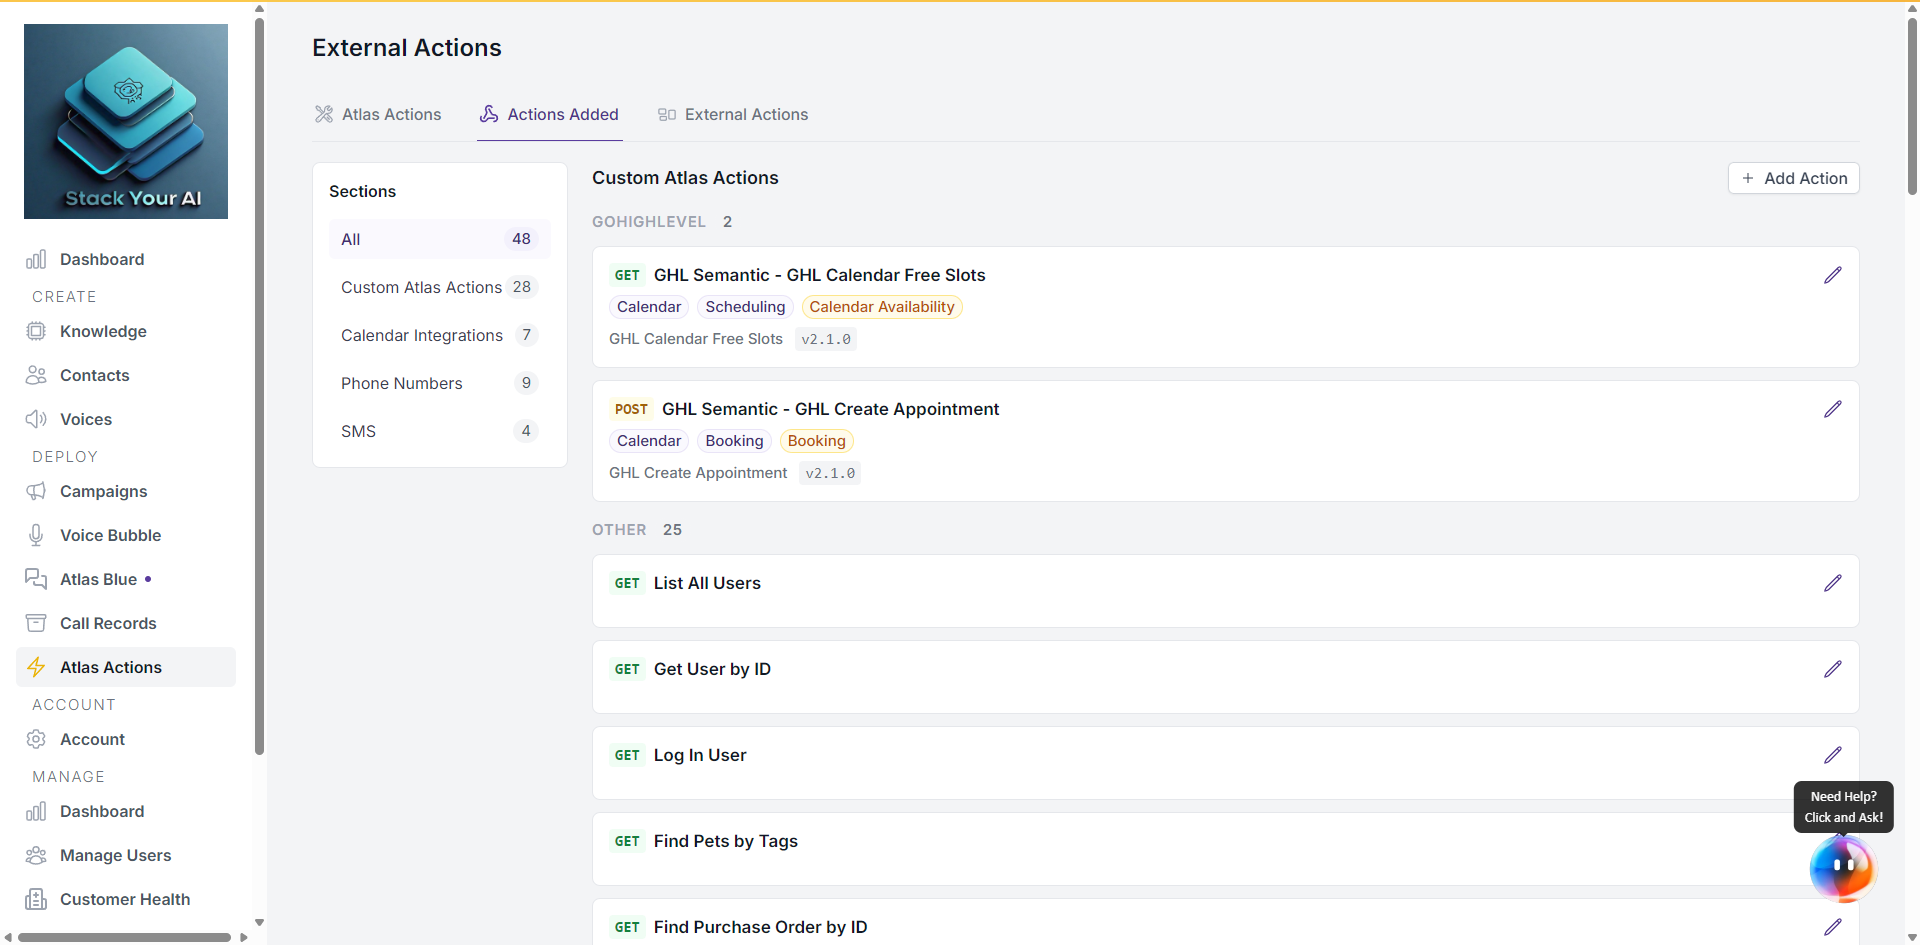
What you see
Each row shows:
- Action name and source (template name, if it came from one).
- Type — Custom Tool, SMS, Calendar, etc.
- Edit and Delete controls.
When you create a new action, it’s highlighted briefly so you can find it.
Edit an action
Click Edit on the row. The same form used to create the action opens with current values filled in. Update what you need and save.
Editing applies immediately — any campaign already using the action picks up the changes on the next call.
Delete an action
Click Delete. You’ll be asked to confirm.
Deleting an action removes it from every campaign currently using it. If you want to disable an action temporarily, unattach it from campaigns instead.
Attach to a campaign
Actions don’t run until they’re attached to at least one campaign.
- Go to Dashboard > Campaigns and open the campaign you want.
- Click Integrations > Tools Integration > Manage Tools.
- Select the action(s) you want this campaign’s agent to be able to call.
- Save.
The agent will now be able to fire this action during calls on that campaign.
After creating an action
The success banner at the top of the Actions Added tab walks you through the three steps:
- Go to Campaigns.
- Open Integrations on the campaign.
- Select the action under Manage Tools.
Dismiss the banner with the X.
Tool sections
The Actions Added tab groups items by type:
- Webhooks — Custom and template actions that call HTTP endpoints.
- Calendars — Cal.com and other calendar tool instances.
- Phone Numbers — Registered numbers used by tools.
- SMS Tools — One-way SMS actions. See SMS Actions.
Use the section filter to narrow the list to one type.